Our Process of Mounting Asian Artwork
How we make traditional wall scrolls and portraits out of paintings on xuan paper.
This page got a little out of date (written in 2007). So we made a new video in August 2013:
This video is a lot better than the still images below. And we've moved to be bigger shop, and upgraded a lot of equipment since then.
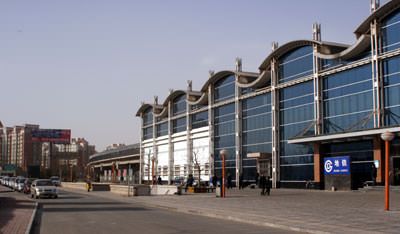
This is the Guo Yuan Subway station in an area known as Tong Zhou (on the outskirts of Beijing).
Our workshop is in a semi-secret location within walking distance this newly-built stop on the Beijing Subway system.
Other helpful and related links:
Information About Hanging Your Wall Scrolls
General Information About Framing Asian Art
A Step-by-Step Guide to Framing Asian Artwork
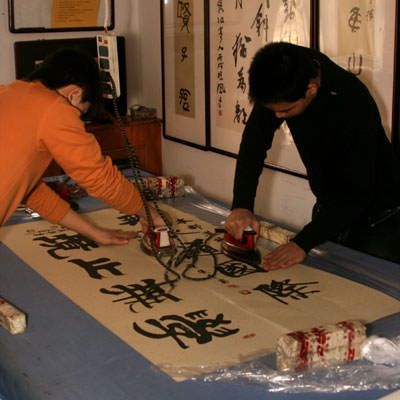
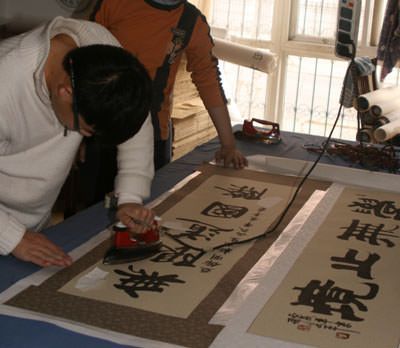
The raw artwork on xuan paper (which is just thicker than tissue paper) is given an initial pressing in our large artwork heat press. The artwork is lightly sprayed with a mist of water to give some steaming effect. This takes out any wrinkles or creases from the artwork.
We can only afford one of these heat presses, so it stays at work constantly, all day long.

A layer of xuan paper is added to the back of the raw artwork to thicken it up and give it body. Temperature-resistant plastic sheeting is used to protect the artwork. The irons do not make physical contact with the artwork at this point.
When artwork is around 33cm or less in width, we can mount two pieces of artwork to the same sheet. This increases efficiency for the future pressing processes (as both can be put in the press at the same time) and reduces waste. The pieces are later cut apart before the silk brocade is added.
Adding the xuan paper backing to two large portraits (they will be separated later).
Note again that the artwork is protected with a sheet of heat-resistant plastic.
Large pieces fit on just one sheet of xuan paper backing.
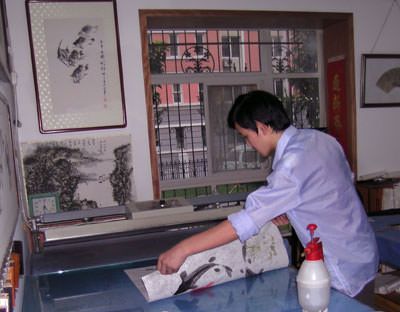
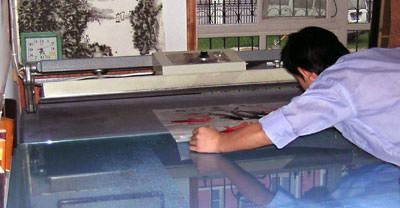
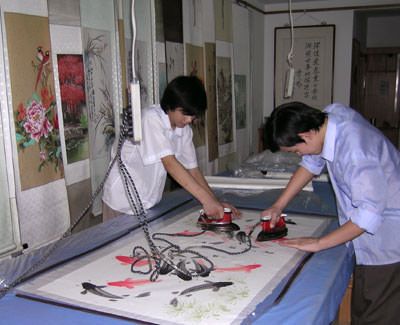
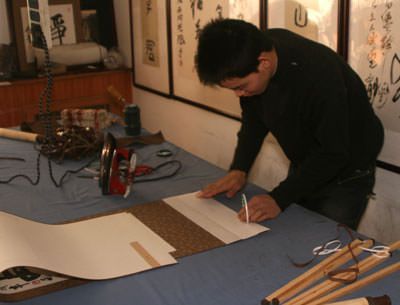
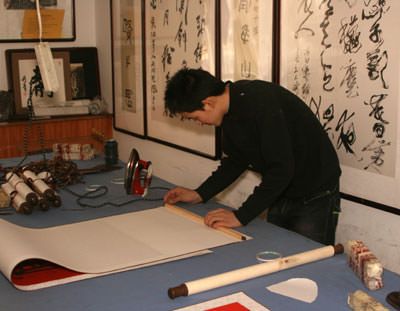
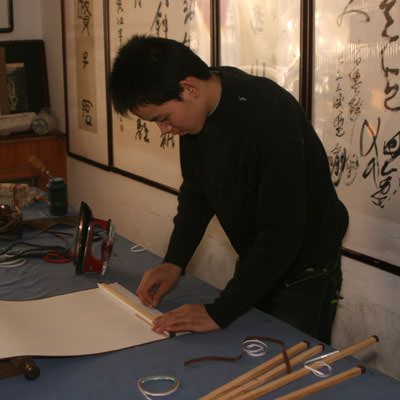
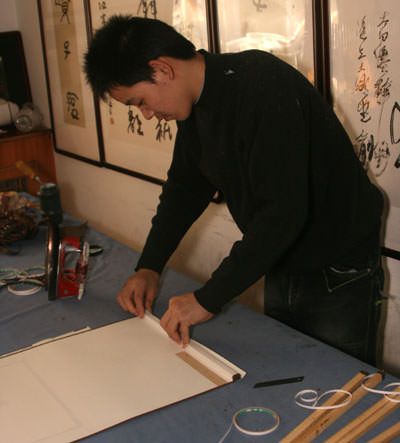
Some keyline tape is added along with strips of silk brocade. Then we bond a larger sheet of stronger xuan paper to the back of the whole artwork piece.
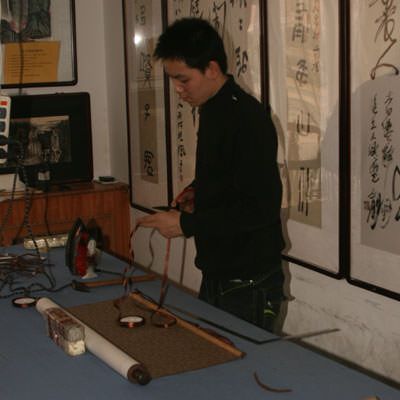
Xiao Li, our master mounter takes a close look at the work. He will give special attention to any bubbles or problems in the paper lamination at this stage.
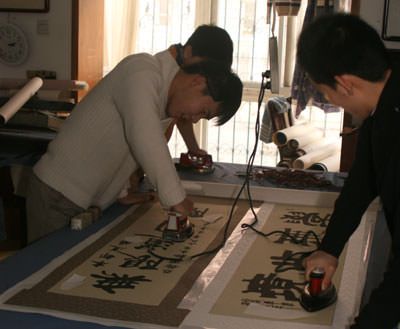
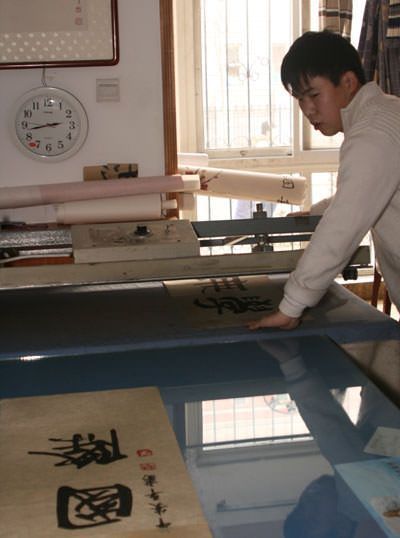
Some light ironing is done on the front side. This is the only time that the irons make contact with the artwork face.
Little scraps of xuan paper cover the red signature stamps, as the clay and oil-based red ink can transfer when heated. This protects against smears and transfer of the red color.
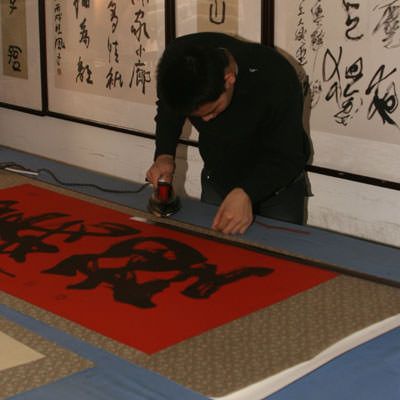
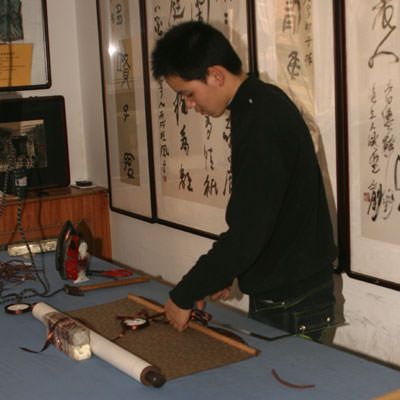
We make our own keyline tape using some special brown-dyed xuan paper and heat-activated adhesive. After trimming the edges of the wall scroll body, some of this tape is applied to bind the edge and optically "frame" the artwork. This tape is wrapped around the edge from the face to the back of the wall scroll.
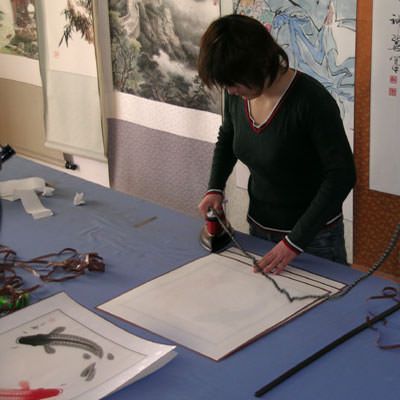
When we are mounting portraits instead of wall scrolls, some keyline tape is applied to the top and bottom edge as well.
The only difference between a wall scroll and portrait mount is the hardware at the top and bottom (or the sides in the case of a horizontal wall scroll).
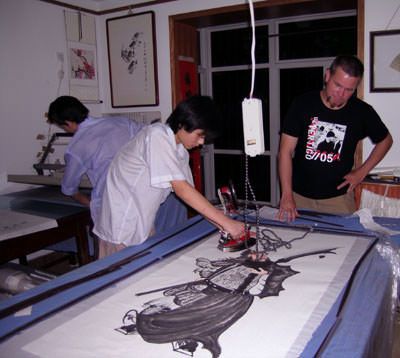
Here we see a wide calligraphy portrait with white silk, and a tall calligraphy portrait with gold silk being prepared.
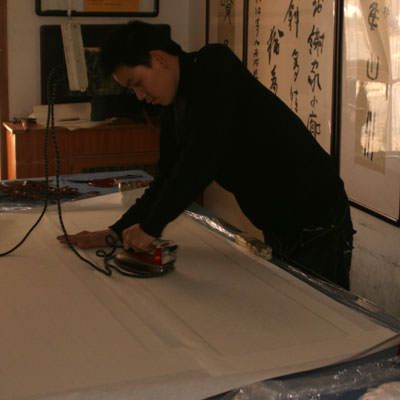
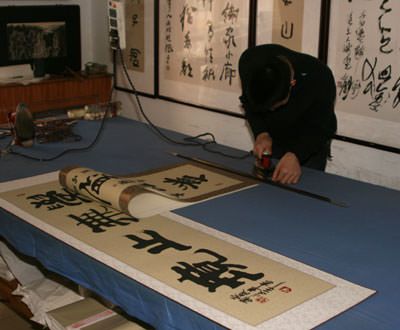
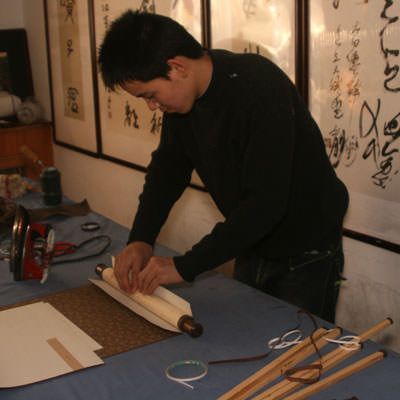
With the edges trimmed and keyline tape applied, wall scrolls go through our big flat heat-press once more.
Since no hardware is added to portraits, this is the final step when doing portrait mounting.
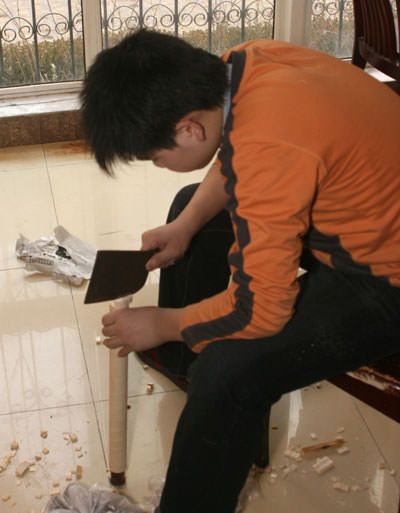
Meanwhile, wooden wall scroll rollers are being cut and prepared. We use these solid wood rollers with polished hardwood knobs on special projects (such as artwork by our master calligrapher). We use lighter cardboard tubes with solid wood knobs for most artwork. The appearance between the wooden rollers and cardboard tubes is rarely-noticed by novice observers. However, the cost difference is about $20 when you count materials, extra labor, and shipping costs (due to heavier weight) of the solid wood version.
As the knobs are fitted on the wall scroll roller, some paper keyline tape is applied to the edges of the roller. This hides any rough edges in the finished product.
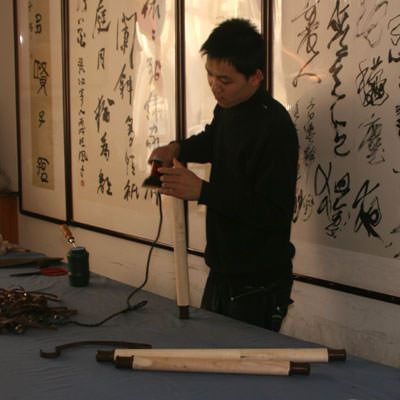
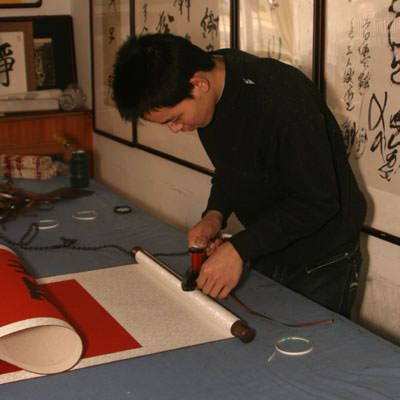
Preparing to add the wall scroll roller to the bottom.
At this point, the bottom of the wall scroll body opens like a flap. Part of it wraps around the front, and the other around the back.
Some check-fitting is require to make sure the width is exactly correct. Tolerance is about 1mm, and every wall scroll is different (due to the handmade nature of both the artwork and the wall scrolls themselves).
Some strips of adhesive are added to the wall scroll, and the roller is placed within the body of the wall scroll materials.
Where the front and back flaps of the wall scroll meet, a piece of paper keyline tape is ironed on to conceal the seam.
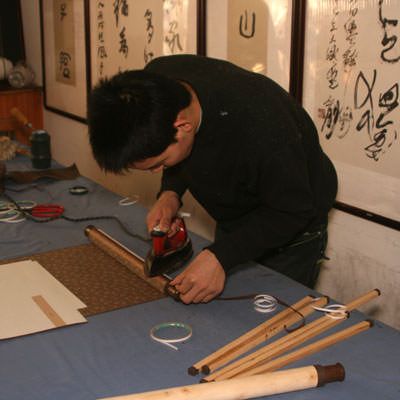
The bottom of the wall scroll roller will probably never be seen by anyone, but we still make sure the seam looks good, and the roller is securely attached.
Attention to detail is important!
Much like the bottom, the top of the wall scroll body opens with a front and rear flap.
The wooden top frame pieces are cut special to match the width of each wall scroll. The ends of the top frame are sealed and covered with brown paper (the same stuff that we cut into strips to make our keyline tape). This ensures that you will never see a rough or unfinished end of the wood frame.
Strips of adhesive are used to bond the body of the wall scroll to the wooden top frame.
The front and back flaps wrap around the wooden top frame. Then a piece of keyline tape conceals the seam at the very top.
Some brass eyelets are screwed into the wooden top frame of the wall scroll. Then some nylon ribbon is threaded through the eyelets to make a hanging harness of sorts. For larger scrolls, four eyelets are used, and the rigging and knots look more they're something from a sailing ship.
They don't have Boy Scouts in China, but we have to tie knots like we were Eagle Scouts.
Notes on ribbon: We once tried to use silk ribbon, but the quality varied too much, and it was difficult to work with. We switched back to nylon ribbon that looks like silk.
I've also seen some scrolls that use a type of nylon cord (especially scrolls made in Japan). We just use the nylon ribbon, which gives a traditional Chinese look (using a modern material).
Once wall scrolls are finished, Sandy or I give them a quick inspection, and they are packed for shipment to our gallery in the USA (some custom scrolls are dispatched via air mail direct from Beijing to our non-USA customers).
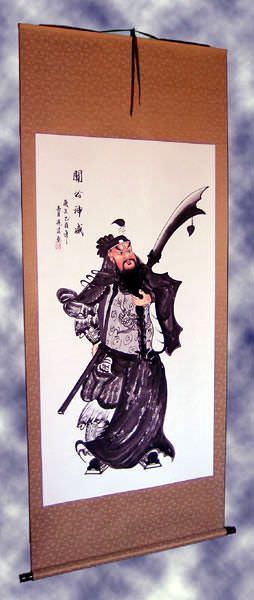
Another finished example. This is the largest size that we generally handle. It's about 2 meters (79") long, and about 83cm (33") wide at the wooden knobs.
Note: This Guan Gong Warrior Wall Scroll is really big - in fact, too big to send via air mail. Therefore, I end up flying back and forth to and from the USA to hand carry such large artwork out of China.
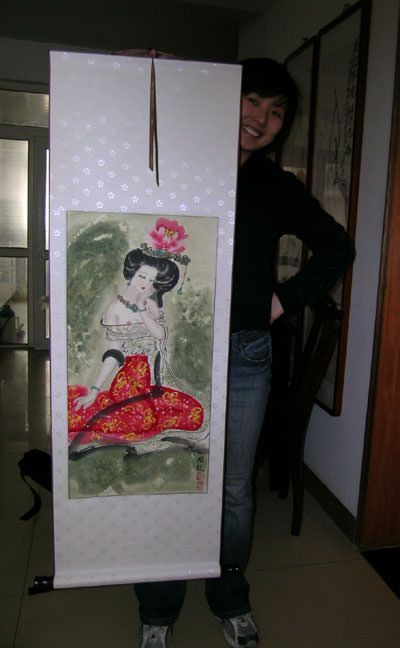
This is what a portrait looks like after mounting.
When you buy a portrait, it arrives like this, ready to frame yourself.
Or better yet, take to your favorite professional framer to complete the presentation.